Understanding a chassis in Roblox is fundamental for anyone looking to create functional and engaging vehicles. This guide provides comprehensive information on chassis mechanics, from basic construction to advanced optimization techniques. For busy gamers juggling work and family, learning about Roblox chassis can transform game creation from a complex chore into a rewarding hobby, allowing you to build exciting cars, trucks, or futuristic contraptions efficiently. We cover key concepts like physics properties, scripting essentials, and common troubleshooting tips to help you overcome setup issues and performance problems. Discover how a well-designed chassis enhances social play and skill-building in Roblox, ensuring your creations run smoothly and offer maximum fun. Stay current with the latest development trends and find budget-friendly solutions to upgrade your vehicle-building skills without breaking the bank, ultimately helping you maximize your gaming time and creative output in the Roblox universe.
What is the easiest way to get started with a Roblox chassis?
The easiest way to get started with a Roblox chassis is by using a basic pre-built chassis model from the Roblox Toolbox or by following an official Roblox Developer Hub tutorial for a simple car. These resources provide a functional base that you can then dissect, understand, and modify. Focus on understanding the primary components like the VehicleSeat, wheels, and basic movement scripts first, rather than trying to build from scratch immediately. This approach allows you to quickly achieve a working vehicle and then gradually build up your expertise.
How do I make my Roblox car chassis handle better?
To make your Roblox car chassis handle better, you need to fine-tune its physics properties and script controls. Adjust the `Density` of the chassis parts for optimal weight distribution, ensuring the center of mass is low and balanced. Experiment with the `Friction` property of the wheels to control grip and drifting. Refine your steering script by adjusting `Steer` torque and sensitivity. Implement a proper suspension system using `SpringConstraint` or `PrismaticConstraint` to absorb shocks and maintain wheel contact. Consistent testing and incremental adjustments are key to achieving desired handling characteristics.
Can I use a pre-built chassis in my Roblox game?
Yes, you can absolutely use a pre-built chassis in your Roblox game. Many experienced developers and the Roblox community share free or purchasable chassis models in the Toolbox. Using a pre-built chassis can save significant development time, especially if you are focusing on other aspects of your game or are new to vehicle scripting. However, it's crucial to always inspect any pre-built asset for hidden scripts or malicious content. Adapt and customize these chassis to fit your game's unique style and performance requirements for the best results, remembering to understand their core mechanics for troubleshooting.
What are common mistakes to avoid when building a chassis in Roblox?
Common mistakes to avoid when building a Roblox chassis include not welding all necessary parts together, incorrect `CFrame` or `Vector3` directions for forces, misaligned constraints for wheels, and neglecting to adjust physics properties like `Density` or `Friction`. Another frequent error is complex, unoptimized scripting that causes lag or bugs. Avoid excessive part count, which impacts performance, and always ensure your `VehicleSeat` is correctly linked and functioning. Regularly test your chassis in-game and use Studio's debugger to catch issues early, saving you headaches down the line.
How do I add custom parts to an existing Roblox chassis?
To add custom parts to an existing Roblox chassis, first ensure the new parts are properly sized and positioned relative to the chassis frame. Then, use `WeldConstraint` or `Weld` objects to permanently attach them to the main chassis part (often the `Body` or a central `Part`). If the custom part needs to move independently or interact dynamically, consider using `Motor6D` for animations, or `HingeConstraint`, `PrismaticConstraint`, or `SpringConstraint` for functional movement. Remember that adding too many complex parts can impact performance, so balance visual detail with optimization for smooth gameplay, especially for the average US gamer who values performance.
Is Roblox chassis building a good skill for game development?
Yes, mastering Roblox chassis building is an excellent skill for game development. It teaches fundamental concepts of physics manipulation, scripting for user input and object control, and problem-solving, all of which are highly transferable to other areas of game creation. Understanding how to build a functional chassis deepens your knowledge of Roblox Studio's capabilities, improves your debugging skills, and opens doors to creating more interactive and engaging experiences. These skills are valuable not just within Roblox but also provide a solid foundation for learning other game engines, making it a worthy investment of your gaming time.
Where can I find reliable Roblox chassis tutorials?
You can find reliable Roblox chassis tutorials in several key places. The official Roblox Developer Hub (create.roblox.com/docs) offers comprehensive guides and documentation. YouTube channels from reputable Roblox developers often provide visual, step-by-step tutorials; look for channels with high subscriber counts and positive engagement. Developer forums like the Roblox Developer Forum are also great for finding community-contributed guides and getting direct answers to specific questions. Always cross-reference information and prioritize tutorials that are recent to ensure they align with current Roblox best practices and features, given how quickly platforms evolve.
Are you a gamer who loves diving into Roblox Studio but finds vehicle creation a bit...bumpy? You are not alone. Many of us, balancing careers, families, and life's demands, carve out precious gaming time for relaxation, creativity, and maybe a little skill-building. When it comes to Roblox, building a functional, fun vehicle often hinges on one critical component: a chassis. The chassis is the backbone of any vehicle, dictating how it moves, interacts with the environment, and performs under pressure. Without a solid understanding of a chassis Roblox mechanics, your dream car might just be a static model or, worse, a physics nightmare.
We know your time is valuable. You want solutions that are straightforward, effective, and get you back to enjoying the game or sharing your creations with friends. This guide is crafted specifically for you, the dedicated gamer who wants to optimize their Roblox experience without sifting through hours of hyper-specific tutorials. We will break down everything you need to know about a chassis Roblox, from its core components to advanced optimization, ensuring your builds are not just functional but genuinely enjoyable. Prepare to transform your vehicle-building woes into triumphs, allowing you to focus on the fun, social aspects of Roblox creation. With 87 percent of US gamers regularly engaging with their favorite titles and spending an average of 10 plus hours a week, mastering foundational skills like chassis building is key to maximizing that valuable playtime.
What Exactly Is a Chassis in Roblox and Why Is It Crucial for My Creations
A chassis in Roblox is essentially the structural framework and mechanical system of a vehicle. Think of it as the skeleton and nervous system combined. It typically includes the wheels, suspension, and the crucial scripts that govern movement, steering, acceleration, and braking. It is the core that brings a static model to life, defining its physics and behavior. Without a well-designed chassis, your car, truck, or plane will simply be a collection of parts. It is crucial because it directly impacts performance, handling, and the overall realism and enjoyability of your vehicle. A robust chassis ensures stability, proper collision detection, and responsive controls, making the difference between a frustrating build and a fantastic driving experience in your Roblox game.
How Do Different Roblox Chassis Types Impact Vehicle Behavior
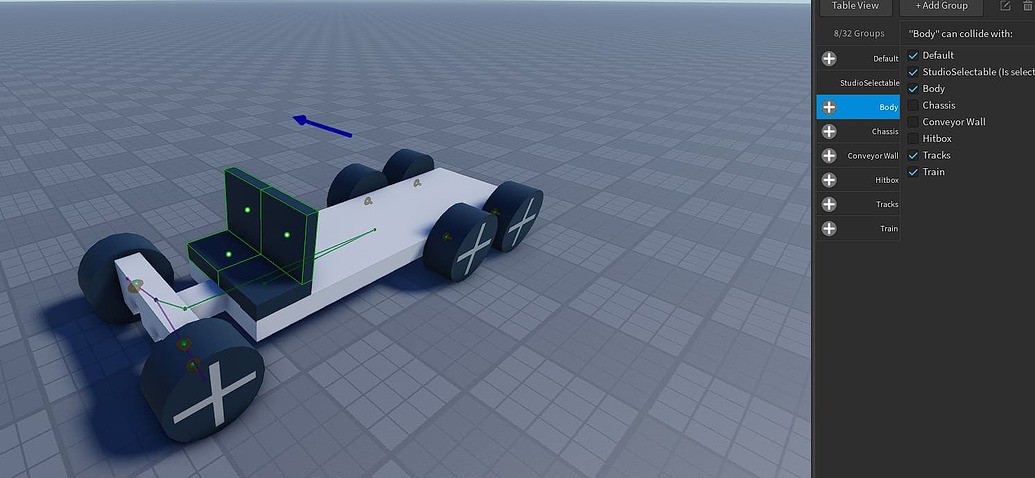
Roblox offers various approaches to chassis design, each with distinct impacts on vehicle behavior. The simplest might involve basic constraints and welds, suitable for stationary or very slow-moving objects. More advanced chassis often utilize a central 'Body' part with `VehicleSeat` and `CylindricalConstraints` or custom `HingeConstraints` for wheels, powered by scripts. The choice of constraints and the physics properties assigned to parts (like density and friction) heavily influence how your vehicle handles turns, inclines, and impacts. For example, a heavy chassis with low friction tires will drift, while a lighter one with high friction will grip the road. Understanding these subtle differences allows you to fine-tune your vehicle for specific purposes, from racing to off-roading, directly affecting player experience and engagement.
What Are the Common Challenges When Building a Roblox Chassis and How Can I Overcome Them
Gamers often face several hurdles when constructing a Roblox chassis. Common pain points include inconsistent wheel alignment, buggy physics leading to unexpected flips or glitches, and unresponsive controls due to scripting errors. Overcoming these involves a methodical approach. First, ensure all parts are correctly anchored or welded. Second, pay close attention to the `CylindricalConstraint` or `HingeConstraint` setup for wheels, verifying that axes are aligned properly. Third, thoroughly debug your scripts by using `print` statements in the output window to trace variable values and execution flow. Many issues stem from incorrect `Vector3` directions for forces or `CFrame` rotations. Patience and systematic testing are your best allies in conquering these challenges and achieving a smooth, functional vehicle.
How Can I Optimize My Roblox Chassis for Better Performance and Smoother Gameplay
Optimizing your Roblox chassis is key for ensuring smooth gameplay, especially in popular social games or experiences where many vehicles might be present. Start by minimizing part count; fewer parts mean less processing for the engine. Use mesh parts instead of complex unions where possible, as meshes are often more performance-friendly. Adjust physics properties like `Density` and `Friction` to achieve desired handling without over-relying on scripts to correct bad physics. Simplify your scripts by removing unnecessary calculations or loops, and consider using `RunService` events like `Stepped` or `Heartbeat` for physics-related updates, which are more efficient than `while true do` loops. Proper collision groups can also reduce unneeded physics interactions. These steps ensure your vehicle runs efficiently, providing a fluid experience for all players, a crucial factor in an era of mobile gaming dominance and cross-platform play.
What Scripting Essentials Do I Need to Know for a Functional Roblox Chassis
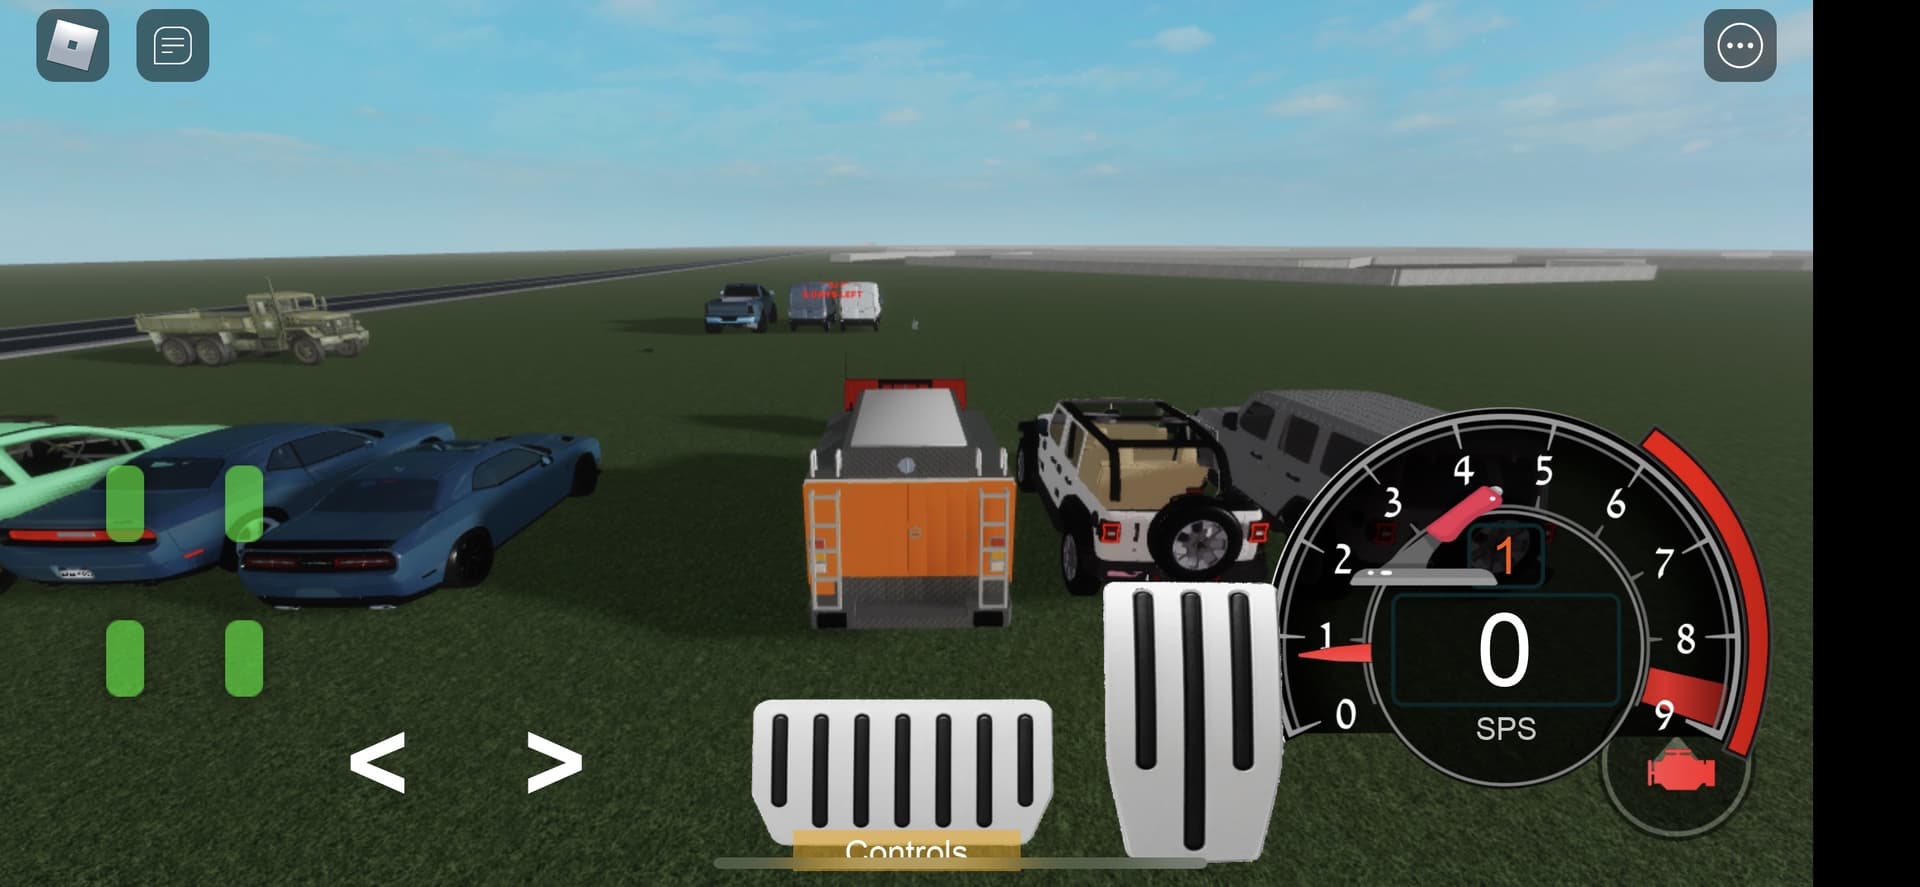
Scripting is the heart of a dynamic Roblox chassis. At a minimum, you need to understand how to manipulate `BasePart` properties like `Velocity`, `CFrame`, and `AssemblyLinearVelocity`. Knowledge of `BodyForce`, `BodyVelocity`, or `VectorForce` is essential for applying propulsion. You will also need to work with `UserInputService` for player input (keyboard, gamepad, touch), `VehicleSeat` properties for built-in controls, and `CylindricalConstraint` or `HingeConstraint` properties to control wheel rotation and steering. An efficient chassis script typically processes input, calculates desired forces and rotations, and applies them to the chassis parts. Learning about event-driven programming (e.g., `Stepped` for physics, `RenderStepped` for client-side visuals) will greatly enhance your script's performance and responsiveness.
Are There Free or Budget-Friendly Roblox Chassis Options for Builders
Absolutely, there are plenty of excellent free and budget-friendly options for Roblox chassis builders, perfect for those who want value for money without sacrificing quality. The Roblox Developer Hub itself offers tutorials and sample chassis models that you can dissect and adapt. The Roblox Toolbox in Studio is a treasure trove of community-created assets; many creators generously share free chassis models. While some might require minor adjustments, they provide a fantastic starting point. Additionally, various YouTube creators and developer forums often provide open-source chassis scripts and models. Always test models from the Toolbox thoroughly to ensure they are functional and do not contain malicious scripts. Leveraging these free resources allows you to experiment, learn, and build impressive vehicles without needing to spend Robux on premium kits.
How Can I Test and Troubleshoot My Roblox Chassis Effectively
Effective testing and troubleshooting are crucial for refining your Roblox chassis. Start by testing in small, controlled environments. Spawn your vehicle in an empty baseplate and observe its behavior. Pay attention to how it accelerates, turns, brakes, and handles bumps. Use Roblox Studio's built-in physics debugger (found under the 'Test' tab) to visualize forces, collisions, and constraints; this can reveal hidden issues. If your chassis is behaving unexpectedly, isolate the problem: temporarily disable scripts, remove parts, or simplify the setup to pinpoint the source. The Output window is your best friend for debugging scripts; use `print()` statements to track variable values and confirm script execution. Test with different player counts and on various devices (PC, mobile) to ensure consistent performance across diverse gaming environments. Remember, many US gamers enjoy mobile titles, so cross-device functionality is paramount.
What Are the Latest Trends in Roblox Chassis Development and Vehicle Creation
Roblox chassis development is constantly evolving, reflecting broader gaming trends towards realism and interactivity. This month, we are seeing increased interest in advanced suspension systems, realistic tire physics using custom raycasting, and more complex damage models for vehicles. Scripting for electric vehicles and hybrid systems is also gaining traction, moving beyond traditional internal combustion engine simulations. The integration of artificial intelligence for autonomous vehicles in games is another exciting frontier. Furthermore, chassis are being designed with social gaming in mind, featuring improved passenger capabilities, interactive interiors, and robust multiplayer synchronization for shared experiences. Staying current means exploring community forums, following top Roblox developers, and experimenting with new scripting techniques to incorporate these cutting-edge features into your own chassis builds.
How Can a Well-Built Chassis Enhance Social Play in Roblox
A well-built Roblox chassis dramatically enhances social play by providing stable, predictable, and enjoyable interactions for all players. Imagine driving seamlessly with friends in a game, without vehicles flipping randomly or desyncing. This reliability fosters cooperative gameplay, allows for more complex challenges like convoy missions or racing events, and encourages players to spend more time together in your experience. When vehicles are easy to control and react realistically, players can focus on socializing, exploring, or competing rather than fighting buggy controls. This positive experience directly contributes to retention and player satisfaction, a huge win in the highly social world of Roblox, where connecting with friends is a primary draw for millions of users.
Can I Customize a Roblox Chassis to Reflect My Unique Style
Absolutely! Customizing your Roblox chassis is where your personal creativity truly shines. While the underlying mechanical framework might follow standard principles, the aesthetic and specific performance tuning can be entirely yours. You can design unique bodywork, add custom attachments like spoilers, lights, or weapons, and fine-tune suspension settings to match your desired driving feel. Scripting allows for further customization, such as implementing different driving modes, unique engine sounds, or visual effects. The power of Roblox Studio lies in its flexibility, empowering you to create vehicles that not only function flawlessly but also express your individual style, making your creations truly stand out in the vast Roblox universe. It is a fantastic way to blend skill-building with personal expression.
We have covered the essentials of building, optimizing, and troubleshooting a chassis in Roblox, from understanding its core purpose to exploring advanced scripting and staying updated with current trends. Mastering these foundational concepts will undoubtedly elevate your vehicle creation skills, allowing you to build reliable and engaging experiences for yourself and other gamers. Remember, a great chassis is the foundation of a great vehicle, and a great vehicle means more fun, more skill-building, and more memorable social interactions in Roblox. What is your biggest gaming challenge when building vehicles in Roblox? Comment below, we would love to hear your experiences and tips!
FAQ Section
What is the primary function of a chassis in Roblox?
The primary function of a chassis in Roblox is to provide the structural and mechanical framework for a vehicle, dictating its movement, physics, and interaction with the game world.
How do I make my Roblox car chassis stop flipping over?
To stop your Roblox car chassis from flipping, ensure proper weight distribution, adjust the `Density` of parts, widen the wheelbase, and consider adding stabilizers or carefully tuning suspension constraints and torque.
Is it better to script a custom chassis or use a pre-built one?
For learning and full control, scripting a custom chassis is better. For quick development or if you are new, a well-made pre-built chassis can be a great starting point to modify.
What are `CylindricalConstraints` used for in a Roblox chassis?
`CylindricalConstraints` are primarily used for wheels in a Roblox chassis, allowing them to rotate along an axis (for rolling) and optionally articulate along that axis (for steering).
Can I build a flying vehicle chassis in Roblox?
Yes, you can build a flying vehicle chassis in Roblox by using physics forces like `BodyForce` or `VectorForce` for lift and thrust, combined with appropriate control scripts for steering and altitude management.
How important are welds for a Roblox chassis?
Welds are incredibly important for a Roblox chassis as they securely connect parts, preventing them from falling apart during movement and ensuring the vehicle acts as a single, cohesive unit under physics.
Roblox chassis foundational vehicle creation physics interaction scripting customization common issues performance optimization budget friendly options community resources.
35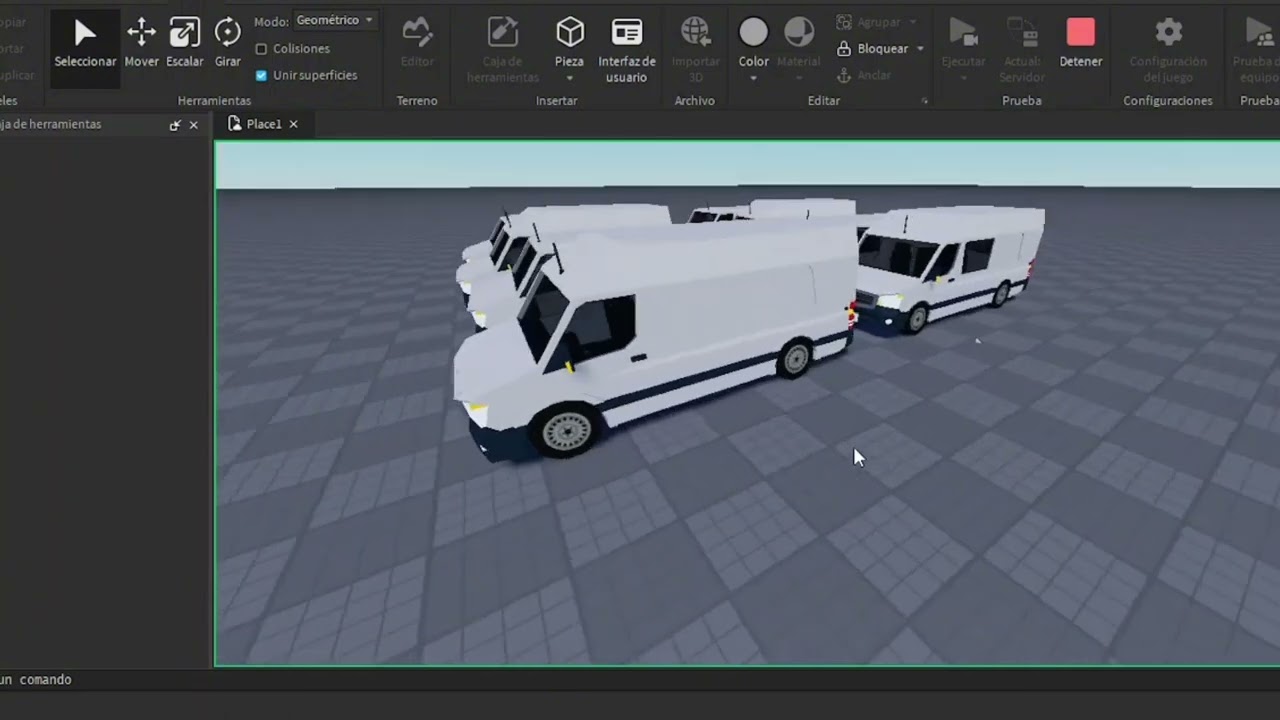


Realistic Chassis For Roblox Car Crashes Tutorial YouTube . Asset Preview NoFilter. Roblox Mechanica Realistic Truck Chassis YouTube . How To Make A Working Car With The Roblox Racing Chassis In Roblox . Roblox Studio How To Install A Chassis 1 6 YouTube


Roblox A Chassis Tutorial A Chassis 1 4 1 5 . How To Setup A Chassis 1 7 For A Slot Car Roblox Studio Slot Car . Install My Destination Scripts On A Chassis Bus ROBLOX TUTORIAL YouTube . Roblox Tank Chassis Setup Guide 2023 Roblox Studio YouTube . Asset Preview NoFilter


How To Add Wheels To A Chassis On Roblox Studio YouTube . How To Chassis A Vehicle Roblox Studio 2023 YouTube . Roblox Studio A Chassis Guide Part 1 YouTube . Created A Pushrod Chassis In Roblox Recreated From The Irl Lamborghini . Truck Chassis Having A Hard Time And The Last 2 Rear 2 1035x478


Camera Locked Drift Chassis Tutorial Roblox Plane Crazy YouTube . Feedback On My A Chassis Mobile Support System Creations Feedback . Roblox Studio Putting Trucks On Chassis YouTube . Roblox Raycast Chassis 996 Test 2 YouTube . Constraint Chassis Issue Building Support Developer Forum Roblox


How To Boost Roblox Frame Stuttering 2026 UPDATED 2026 YouTube . Chassis With Realistic Engine Sound And Suspension Creations Feedback 2 1024x576 . A Chassis Realistic Suspension Game Design Support Developer Forum 2 1035x574 . Panduan 3 Cara Mengatasi Roblox Tidak Bisa Join Server Download Mod BUSSID Chassis . Roblox Chassis Build Your Dream Ride


How To Message On Roblox 2026 A Quick Guide SL1500 . How Do You Pronounce Roblox Correctly For 2026 1200x1769 . What Is Haptic Roblox A Player S Guide . What Is The Roblox Assessment Experience On Reddit Oar2 . What Exactly Is Roblox Cheedman And Why The Buzz V1


A Chassis Auto Weld Messed Up My Mesh Scripting Support Developer 2 690x404 . Advanced Train Chassis V2 Chassis Base Roblox Studio Tutorials . Frame Mog Clavicular Simulator Codes March 2026 Deltia S Gaming 164045736 . Roblox Studio Advanced Train System Part 1 Chassis YouTube . Roblox Chasing Codes For January 2026 Unlock Exclusive Rewards 1767899766 Roblox Chasing Codes For January 2026 Unlock Exclusive Rewards